


Integrating Dynamics 365 and BigCommerce enables businesses to streamline their operations by connecting and syncing data between the two platforms. This integration offers various benefits for different-sized organizations; you can refer to the BigCommerce Dynamics 365 Integration for more detail.
Businesses can implement the integration in several ways, such as by building a custom integration solution, using open-source middleware, using integration apps, or using an iPaaS integration platform. In this article, we’d like to show the complete guide to BigCommerce Dynamics 365 integration using the iPaaS integration platform, HexaSync.
Table of Contents
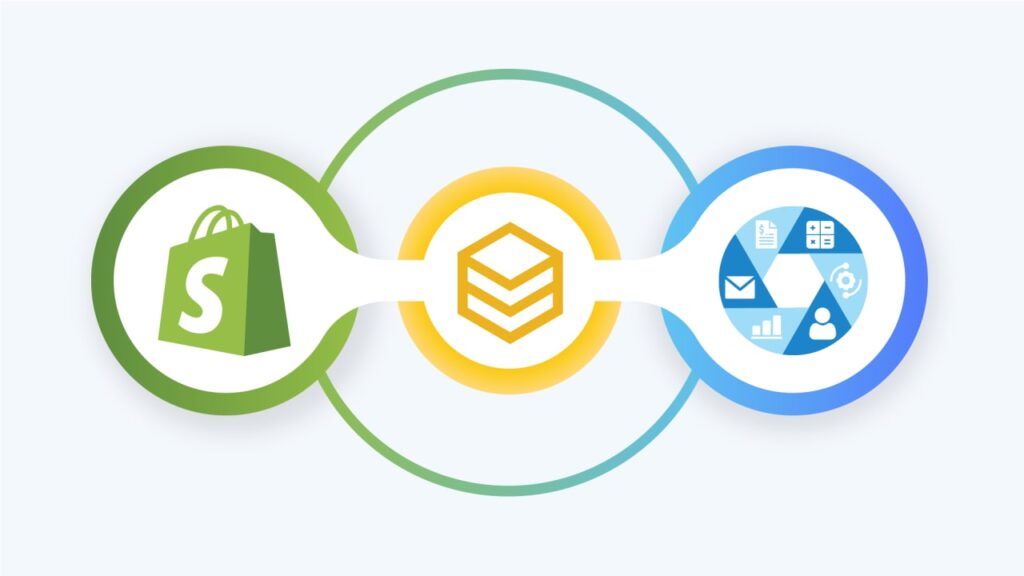
HexaSync Integration Platform – Automatic business processes
The HexaSync platform, launched by Beehexa, is the leading iPaaS integration platform that allows businesses to streamline their operations. It works as middleware to help organizations connect and integrate legacy systems with modern SaaS applications via APIs and access tokens. Using HexaSync, users can monitor the flow of data transfer from the source location to the destination location. So, they can detect the problems and solve them if they are not technical.

Integrating Dynamics 365 and BigCommerce using the HexaSync integration platform is suitable for enterprises that don’t have the expertise in technology to build and maintain the integrated solution. Because of HexaSync’s flexibility, users can customize their integration requirements to their specific needs and budgets.
A step-by-step guide to integrating Dynamics 365 and BigCommerce
In this section, we’d like to show the complete guide for non-programmers to implement the integration through the HexaSync application on Microsoft AppSource.
The HexaSync integration application is now available for installation on the Microsoft AppSource. It is a user-friendly and intuitive design for businesses to streamline their data integration processes. By installing the HexaSync app on your server, you can streamline and monitor some processes, such as sales order data, customer data, and product data.
To integrate Dynamics 365 and BigCommerce, please follow the step-by-step instructions below.
Registering a HexaSync Profile
Step 1: Create a HexaSync Account using your email address
- Visiting link: https://app-az.hexasync.com/login
- Sign up for an account by entering your email address and clicking “Login”. Or you can also sign up with Microsoft or Google

- Fill in the information, including the name and company name

- OTP code will be sent to your email. Copy that OTP code here and click “Submit“. So you have successfully registered an account on HexaSync.

Step 2: Creating a HexaSync Profile
- After successful account registration, the screen will appear like this

- To create a new profile, click this button

- Choose Source System and Destination System according to your synchronization needs

- Click OK and you have successfully created a HexaSync Profile.

- If you need more than one HexaSync Profile, repeat the same steps as above with the remaining HexaSync Profiles.

Step 3: Invite team@beehexa.com to collaborate with your HexaSync Profile
- Select HexaSync Profile you want to share

- Invite our team to manage your integration following the instructions in the image below.

Share the BigCommerce API key and information
Step 1: Going to your BigCommerce store

Step 2: Create an API Account
- By going to Setting, choose API Account in the API section

- After clicking on API accounts, select to Create API Account button

- Enter some information, and customize like these screens below:


Step 3: Click to Save button, this screen will popup:

- Copy all links as above and send them to Beehexa.
Step 4: Successfully get API accounts
- If this line appears, we have done it successfully

Share the Microsoft Dynamics F&O key and information
Step 1: Install the Hexasync app for your tenant
- From Home – Microsoft Azure, go to Azure Active Directory

- Then go to Enterprise Applications, and click on New Application to access Azure AD Gallery.


- Search for the Hexasync app and sign up

- Sign up or Sign in to a Hexasync account by using Microsoft single sign-on

Step 2: Add Hexasync to your Dynamics Finance & Operations site
- Return to your Enterprise Applications page, you’ll have the HEXASYNC app on your list, click on the app name to get the Application ID

- On your Microsoft Dynamics F&O site, search for the Azure Active Directory Applications page

- On the Azure Active Directory Applications page, create a new record by clicking on the New button, then put the Application ID to the Client Id field, and on the User ID field, select the proper admin user, finally click save to get the process done

Step 3: Review Dynamics Finance & Operations API access
- Please follow up on our Microsoft Tutorials: How To Generate An Access Token In Azure Active Directory to ensure HexaSync can access your Microsoft Finance and Operations instance using Access Token
- On the Microsoft Dynamics F&O dashboard, search Azure Active Directory Applications

- Click on the New button

- Add information including Client Id, Name, and User ID, then select Save

- After reloading the page, move to Microsoft Azure Page to check the Client ID, as you can see, we have successfully authorized HexaSync Application to work with Dynamics F&O

- Go to Postman to generate the access token, first of all, create a new environment

- Fill in all information needed on the variable column and initial value column. After that, click on Save

- Set active for it

- Create a new post with the URL


- In the Body section, click on the form URL encoded

- After that, enter the set of keys and values like this code below and choose Send

- The postman will return the access token of your Microsoft Dynamics F&O. So, the access token on Azure Active Directory has been successfully generated.

Integrating Dynamics 365 and BigCommerce
After sharing with us all the necessary information, including the HexaSync account, BigCommerce APIs, and Dynamics F&O key, the HexaSync developer team will build and set up the integration based on your requirements. By signing up for the integration account, you can track and manage the type of data to transfer or schedule the time to sync.
Test and monitor the integration
Once the integration is complete, it’s time to test it to check the accuracy of the data syncing processes. You should test different scenarios, such as creating new orders in BigCommerce and ensuring they automatically transfer to Dynamics 365 in real-time or updating the inventory in Dynamics 365 and ensuring it updates in BigCommerce.
Besides, monitoring the integration allows you to ensure it continues to work as expected. Set up alerts or notifications for any errors or issues that may arise, and regularly check the integration logs for any problems.
BigCommerce Dynamics 365 F&O—Product Sync
Step 1: Create a new product on Dynamics 365 F&O
- Log in to the Dynamics 365 F&O account, and search “Release Products” on the search bar

- Let’s click on the New button to fill in all the information. Then click Ok, and you completely create a new product.

Step 2: Monitor data in the HexaSync integration platform
- Login to the HexaSync account and go to the BigCommerce Dynamics F&O profile.

- To monitor the product data, choose the Products task

- Next, search the product data by product_name. If it appears in the HexaSync, it means the product data is completely synced from Dynamics 365 to HexaSync.

Step 3: Check the new product on the BigCommerce system
- Go to the BigCommerce storefront and search for the product.
- If you can find the product, it means that the integration process is successful.

We’ve shown all steps to test and monitor the product data from Dynamics 365 F&O to the BigCommerce store through the HexaSync platform. If you want a more visual look at the integration process, let’s watch the following video:
BigCommerceto Dynamics 365 F&O – Sales Order Sync
Step 1: Create a new order on BigCommerce
- From the Shopify dashboard, let’s make an order as a normal customer

- When you complete the purchase, you will see the order number.

Step 2: Monitor the order data on the HexaSync integration platform
- Go to the BigCommerce Microsoft Dynamics F&O profile
- To check the order status, let’s click on the Sales order task

- Search the order by ID

- When you see the Destination_ID is a number sequence, it means that the order data is successfully pulled to the HexaSync and pushed to the Dynamics 365 F&O system. Let’s copy this number sequence.
Step 3: Check the new order on Dynamics 365 F&O
- From the Dynamics 365 F&O, go to the Sales Orders module

- Filter the news order to check the newest order
- Then check the order information

We’ve shown all steps to test and monitor the sales order data from Shopify to the Dynamics 365 F&O through the HexaSync platform. If you want a more visual look at the integration process, let’s watch the following video:
Conclusion
Once again, the Microsoft Dynamics 365 and BigCommerce integration plays an important role in automating the business process and contributing to business development. By following all the above steps, you can easily integrate Dynamics 365 and BigCommerce using the HexaSync platform. Moreover, with its user-friendly dashboard and monitoring tools, you can easily detect and solve any problems that arise.
We hope that you can get some valuable information from this article. If you have any questions related to general integration requirements or the integration capabilities of Microsoft, please feel free to contact us.